Design concept 101
Overview
For this week assignment, we have to build 3D model that consists of at least 2 parts and show how to assemble them together.
Let's start as usual with My Objective For this project:
- Learn Design concept and how to develop one
- Learn Fusion 360
- Starting with no background in design to the point that I can create something from my imagination
I set my plan and it was very simple:
Step (1): Knowing What's Design concept and how to develop one.
Step (2): Make a process to make my concept as a roadmap through my design.
Step (3): Learn Fusion 360.
Step (4): Creating my model.
The Process
Step 1: Knowing What's Design concept and how to develop one
As a beginner that have no background in design I have no idea how to develop my concept and if there is any normal steps I should do to create one. So I go to my trustworthy friend Mr.Google to ask him the advice.
I find a lot of useful links that discuss Design concept, but the only problem that they see it from the architectural perspective. to make sure that you don't face this problem I'll try to simplify the Design concept meaning in a general way.
Design concept:
Think of it as the idea behind a design that will lead to your choices in color, type, style and all of your design decisions.
We can say it consisted of two points:
-
Verbal:Word that we use to describe the design. focused on the message your design is to communicate.
-
Visual:Specific image or color scheme focused more on the how of conveying your message.
For more info please see

- Hello Google ! what do you know about Design concept
Step 2: Make a process to make my concept as a roadmap through my design
Creating a concept is an individual process depends on the person, but we should all end up with the same end goal
-
a list of descriptive words that will define our design verbal
-
Different concept [style,concept,textures,shapes,layout] visual
For me, my process Consist of:
-
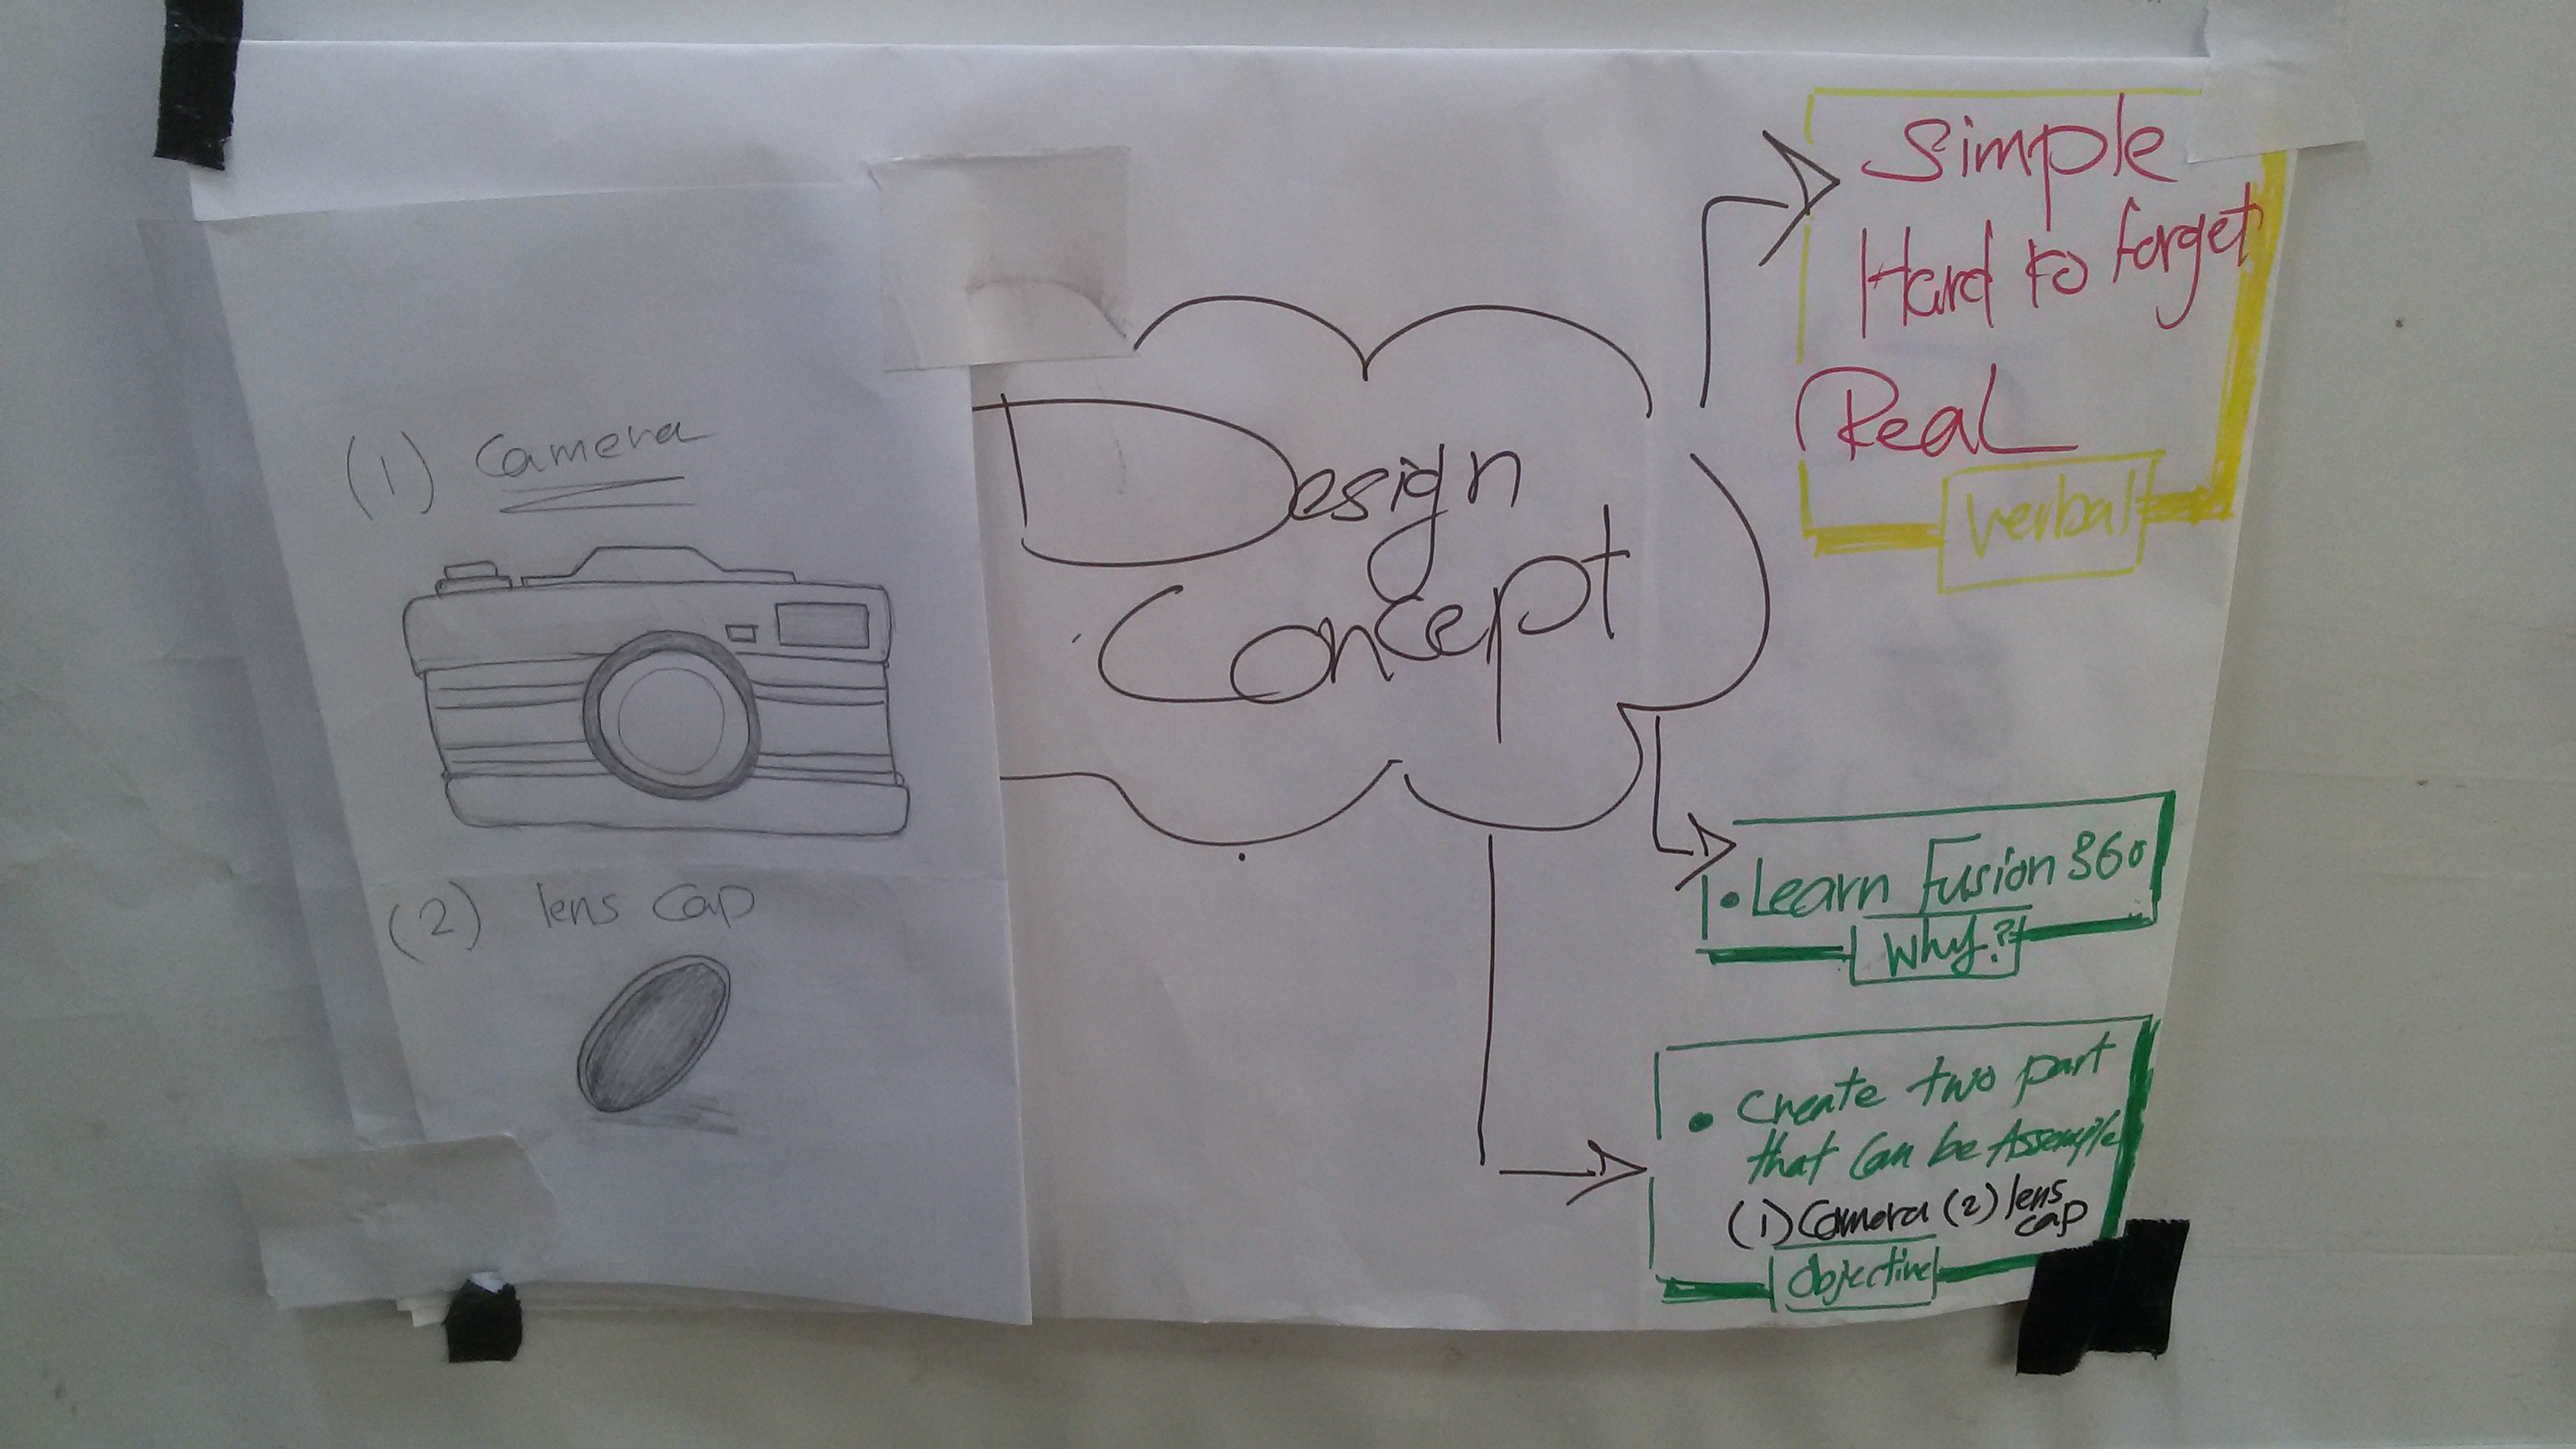
Define why I want to create it.
[To learn how to design and be able to build a design from my imagination]
-
Define my objectives.
[Create a simple real design consist of at least two parts that can be assembled]
-
Describe the design in words.
[Simple, Real object with a lot of details]
-
Research similar designs.
-
Create Modeboard.
My Moodboard if you want more info about how to create one Link or Link
Step 3: Learn Fusion 360
I gather my resources. I start it simply through this Fusion 360 for absolute beginner playlist.
and I make a future plan to seek more knowledge starting from Fusion 360 tutorials for 3D printing
ending with autodesk documentation and Fusion 360 advanced tutorials
Step 4: Creating my model
After Finishing my resaerch I create a simple draft to my design. it look like this
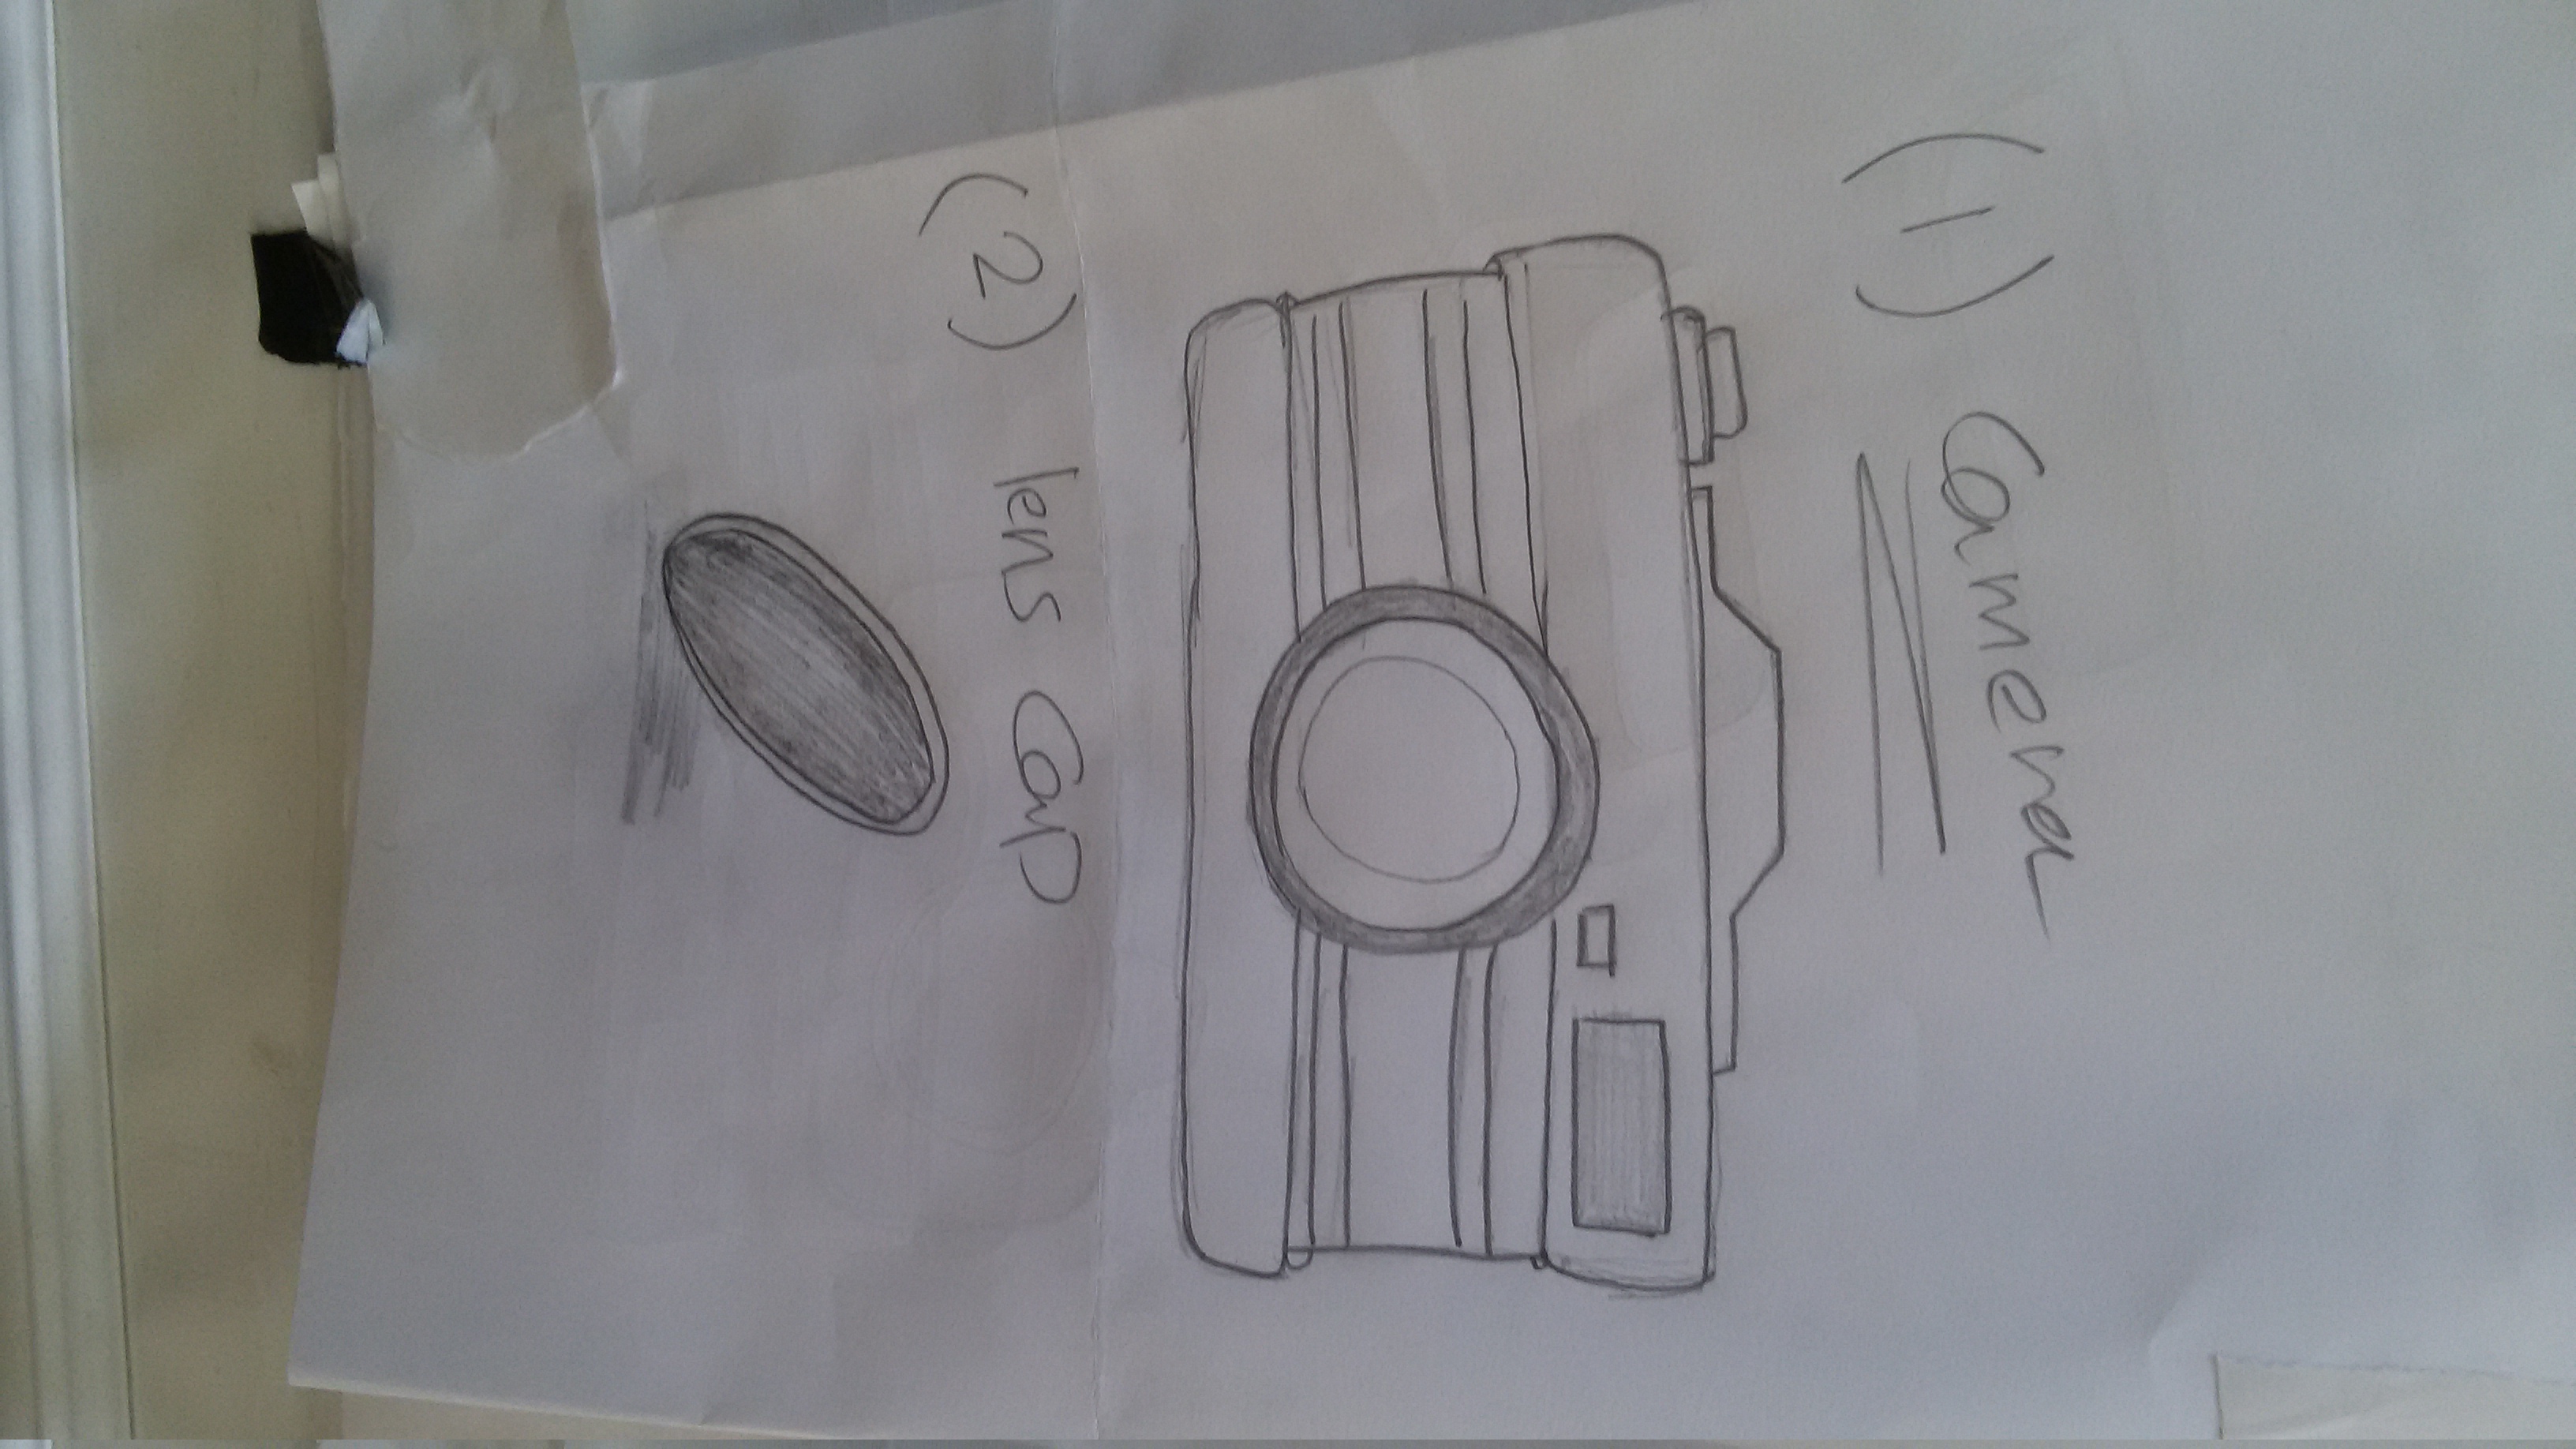
and now it's time for real work on Fusion ....

- Creating the main-body a rectangle
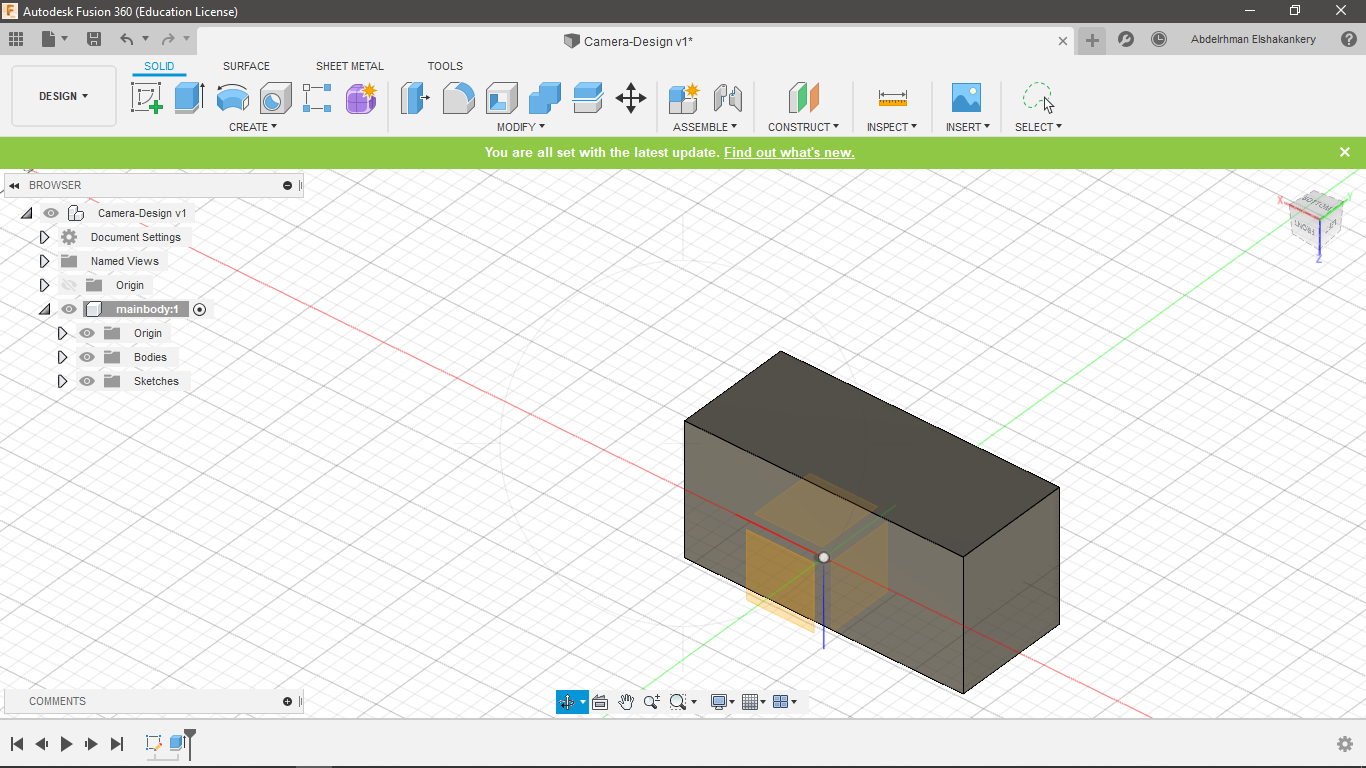
- then Extrude
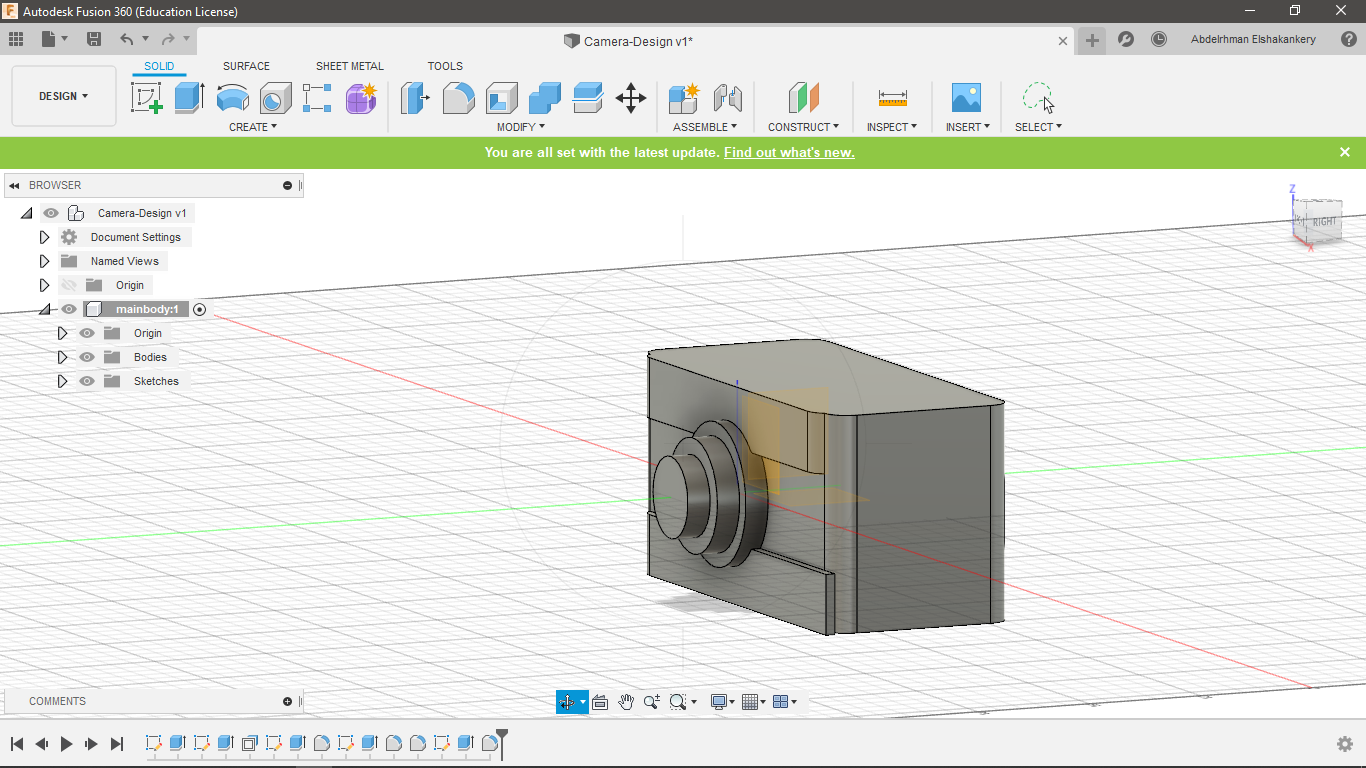
- Add the intial lens
- fillet the edges
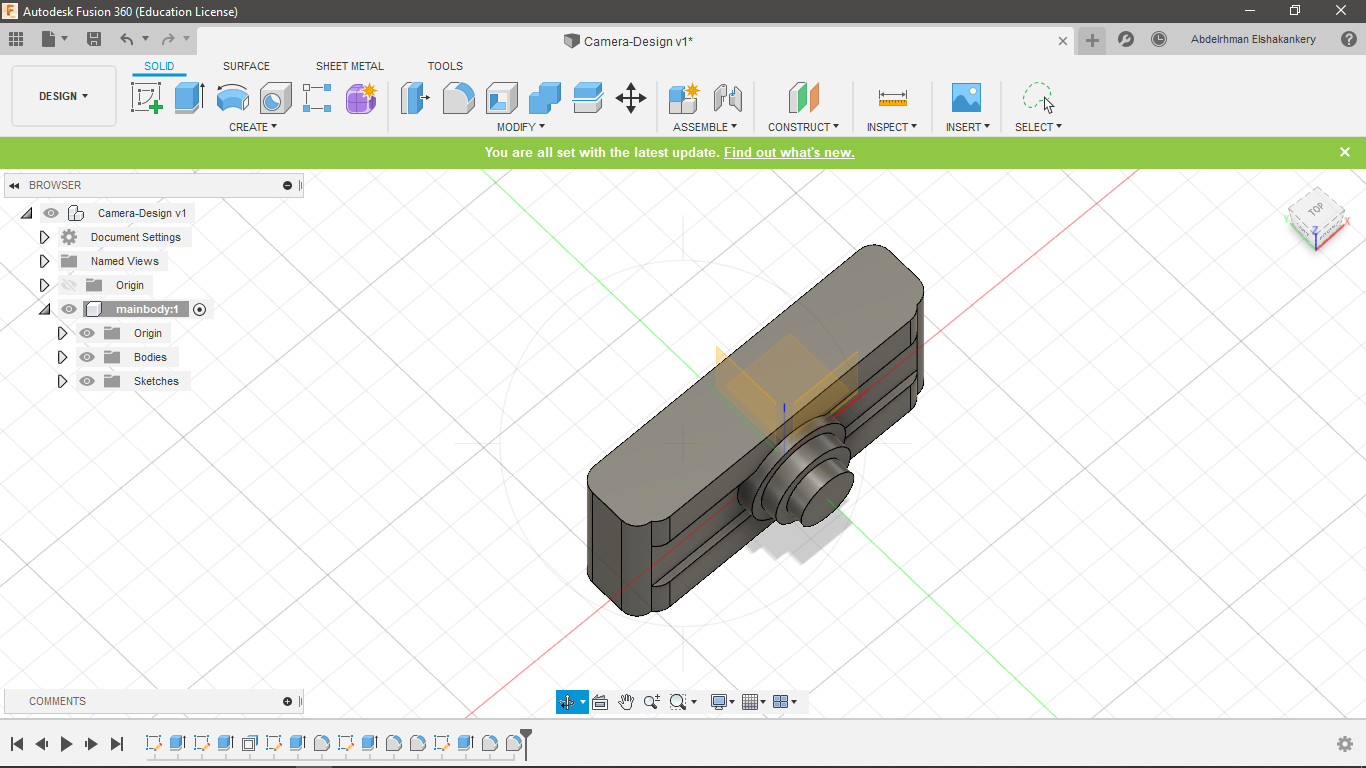
- Change Dimensions !!!
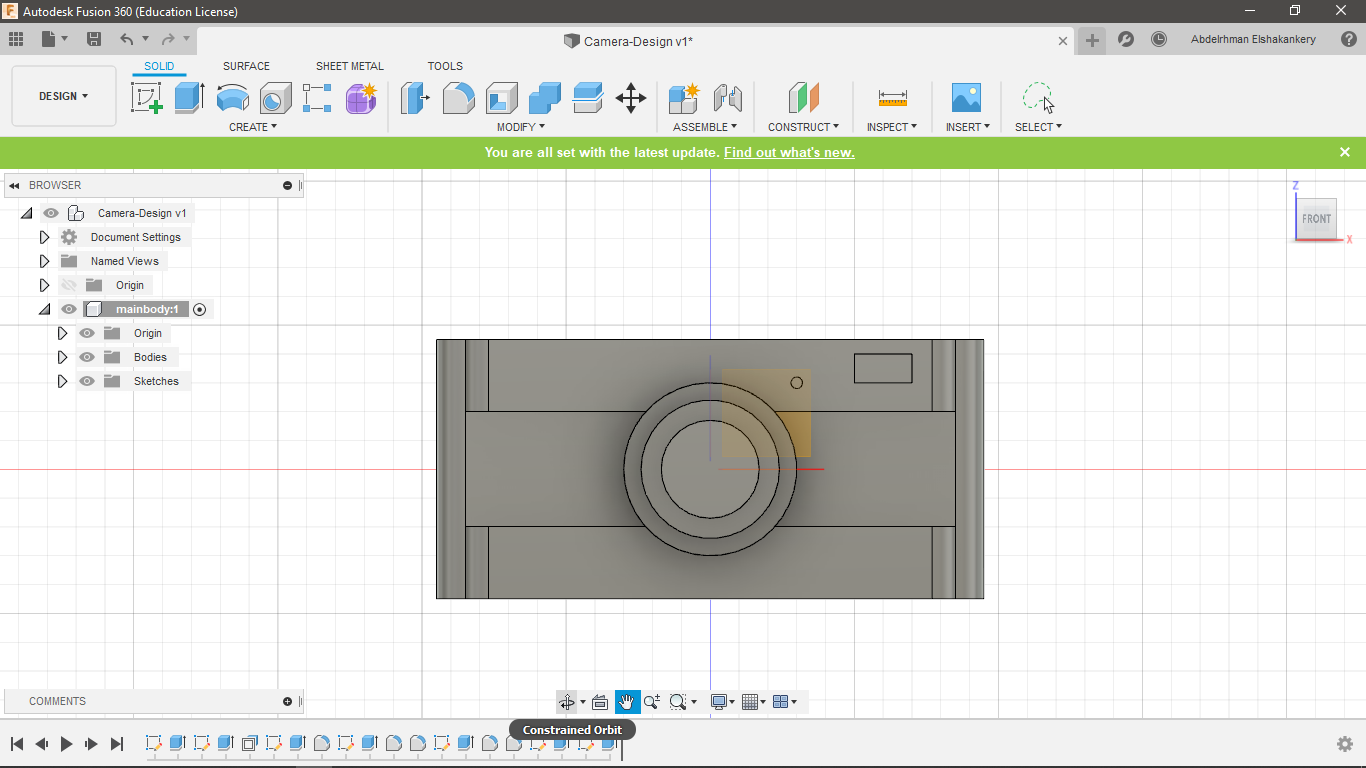
- Add the flash part to the design rectangle and small circle
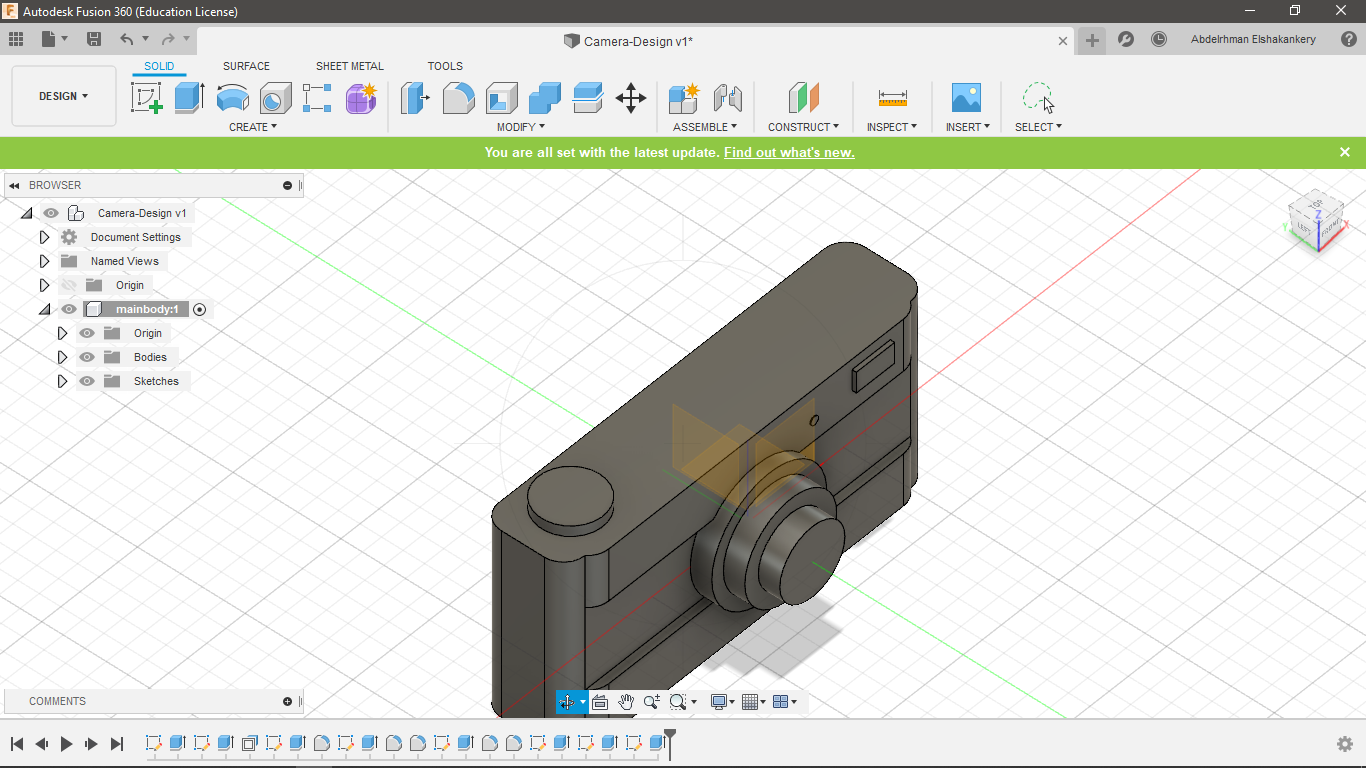
- Add the button base on top
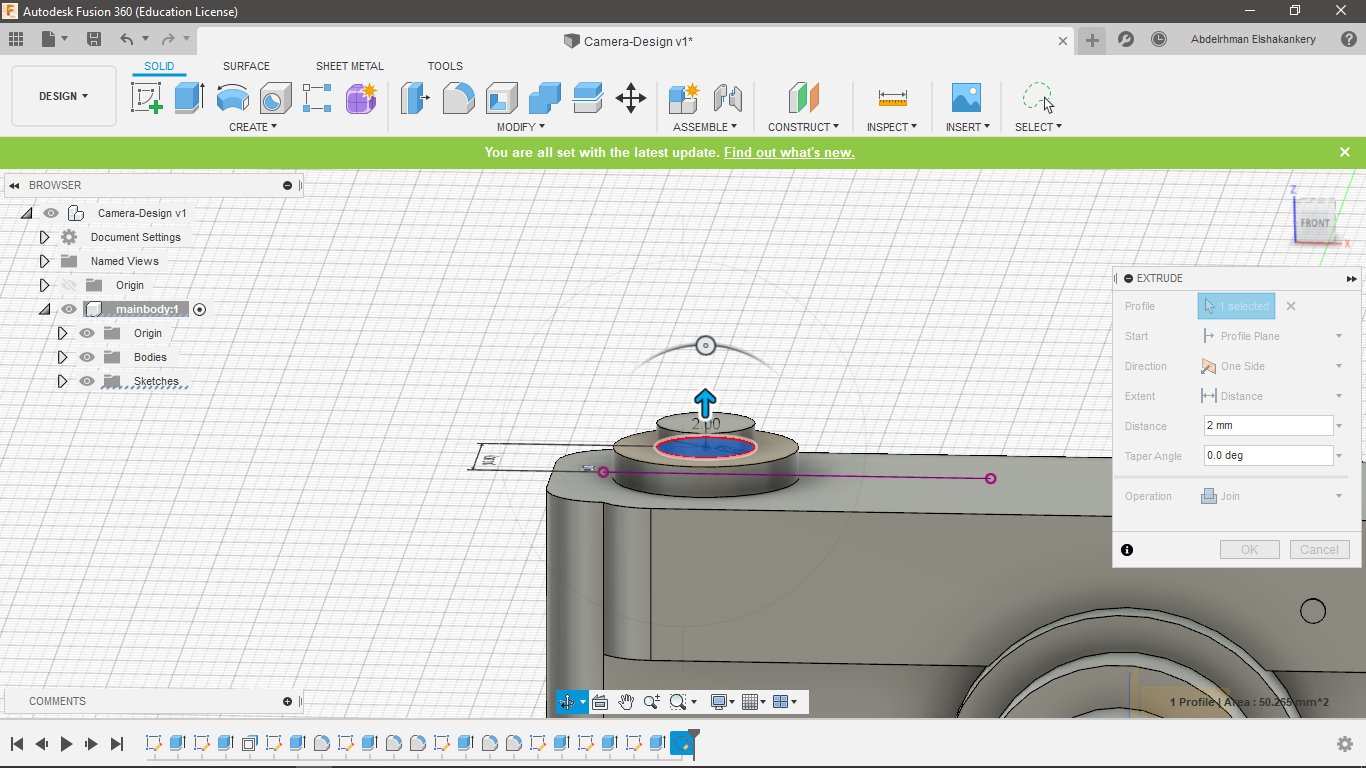
- Add the rest of the button
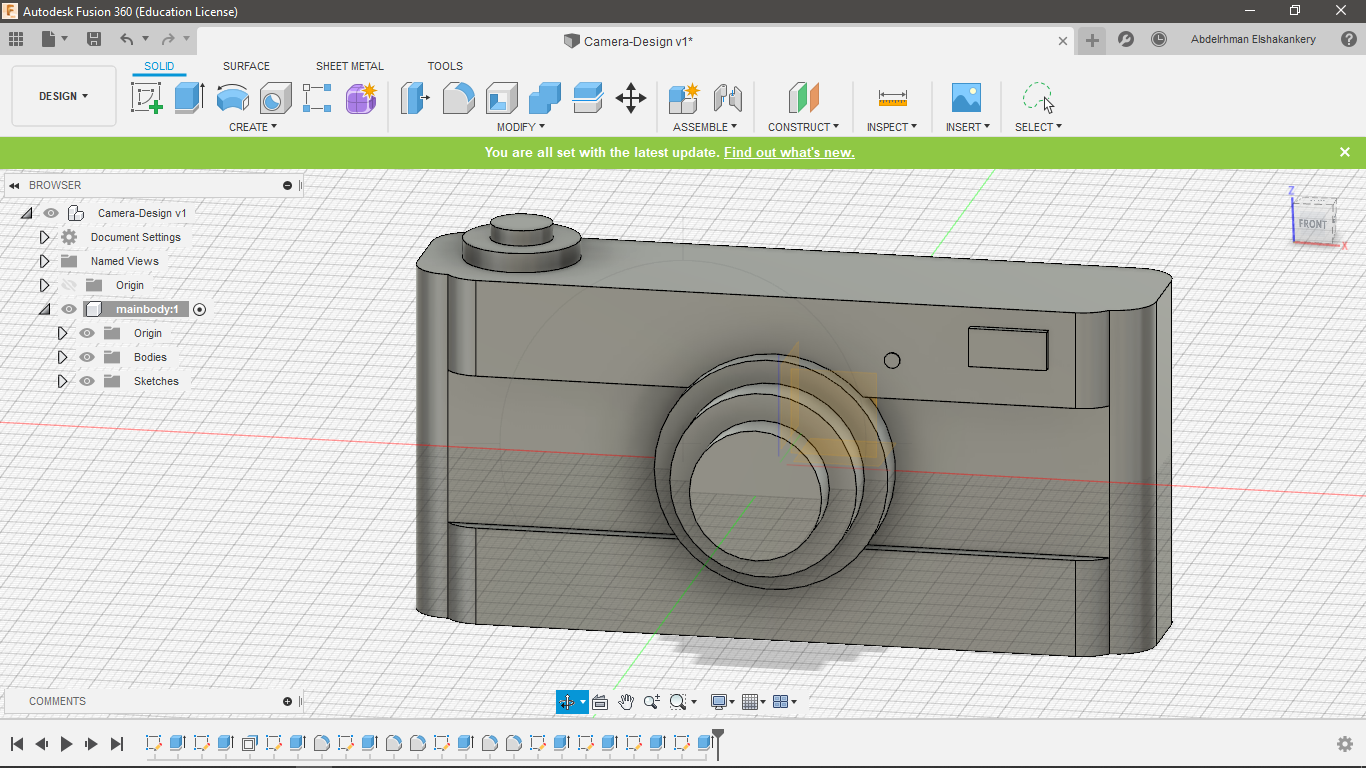
- Add the lense part on top
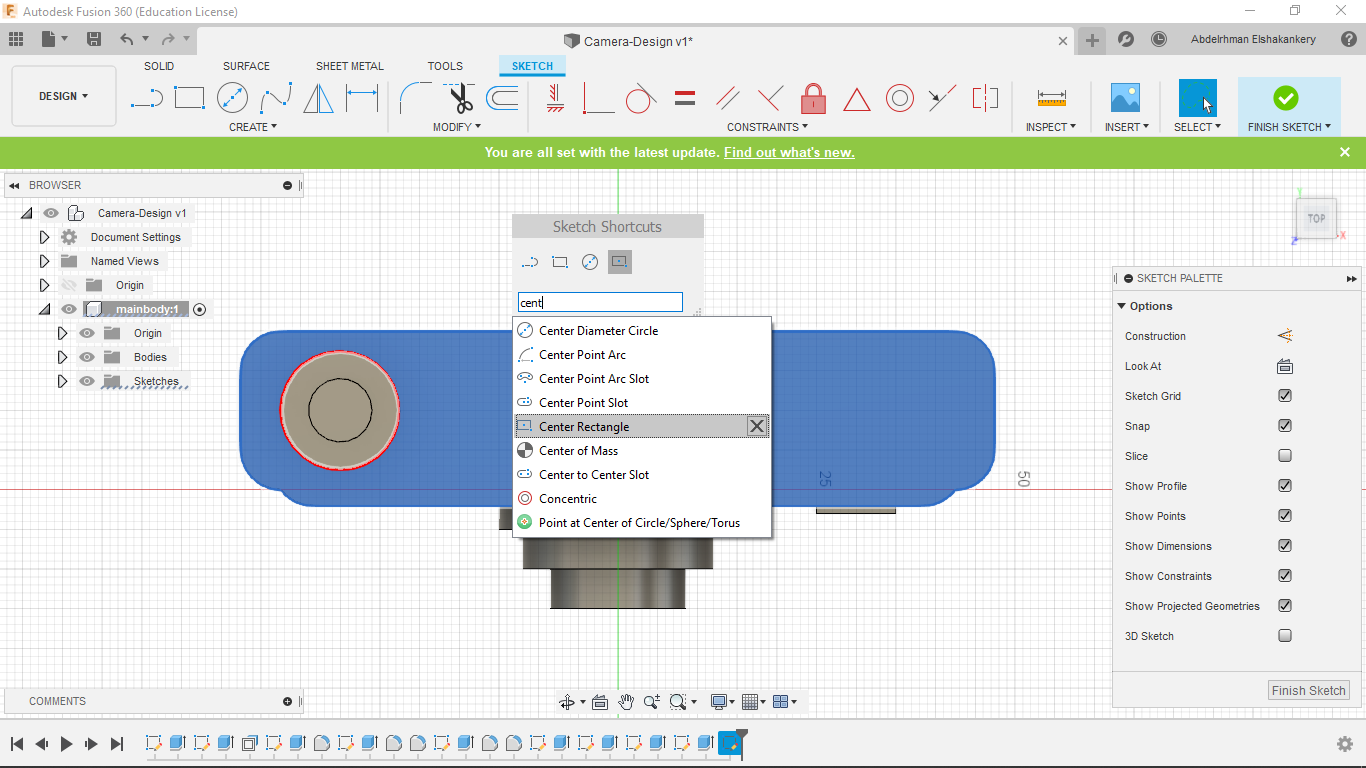
- Make it semetric
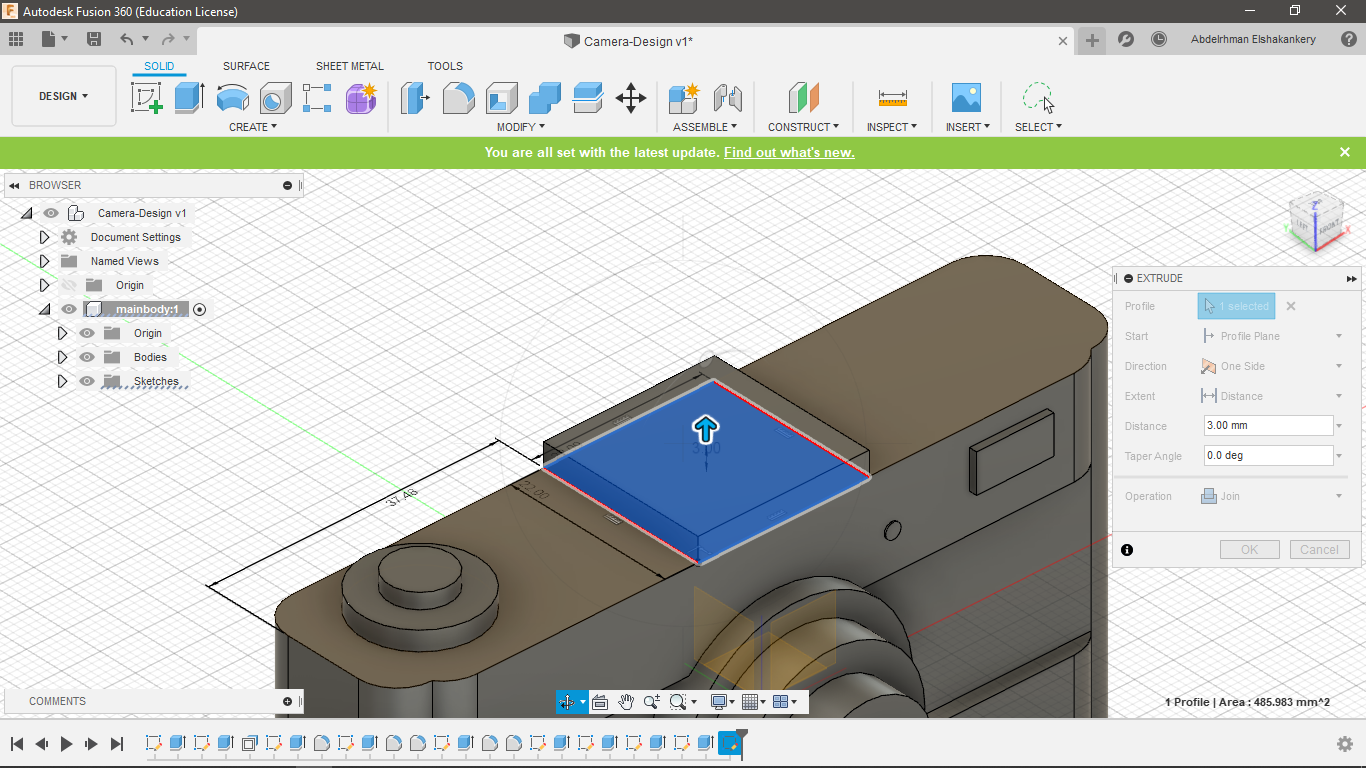
- Add the last two rectangle to both sides
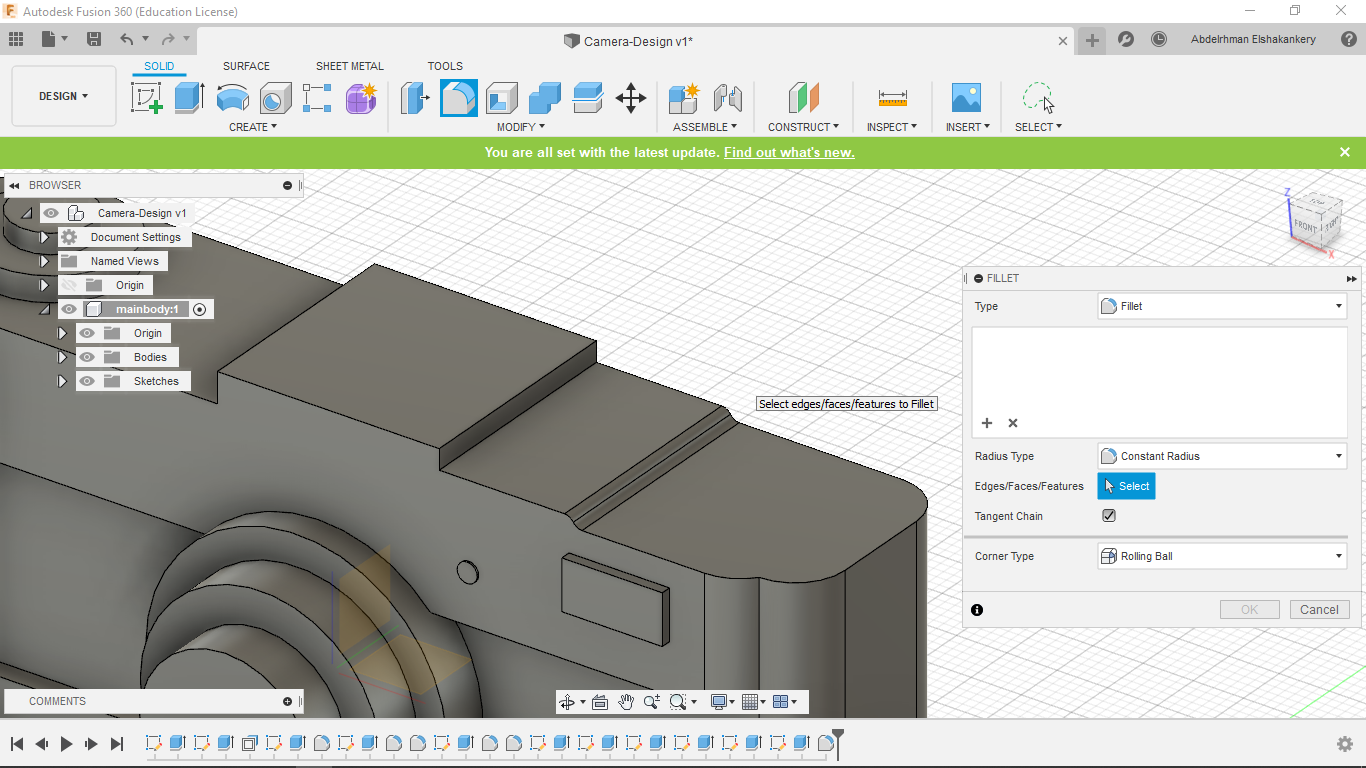
- fillet the edges
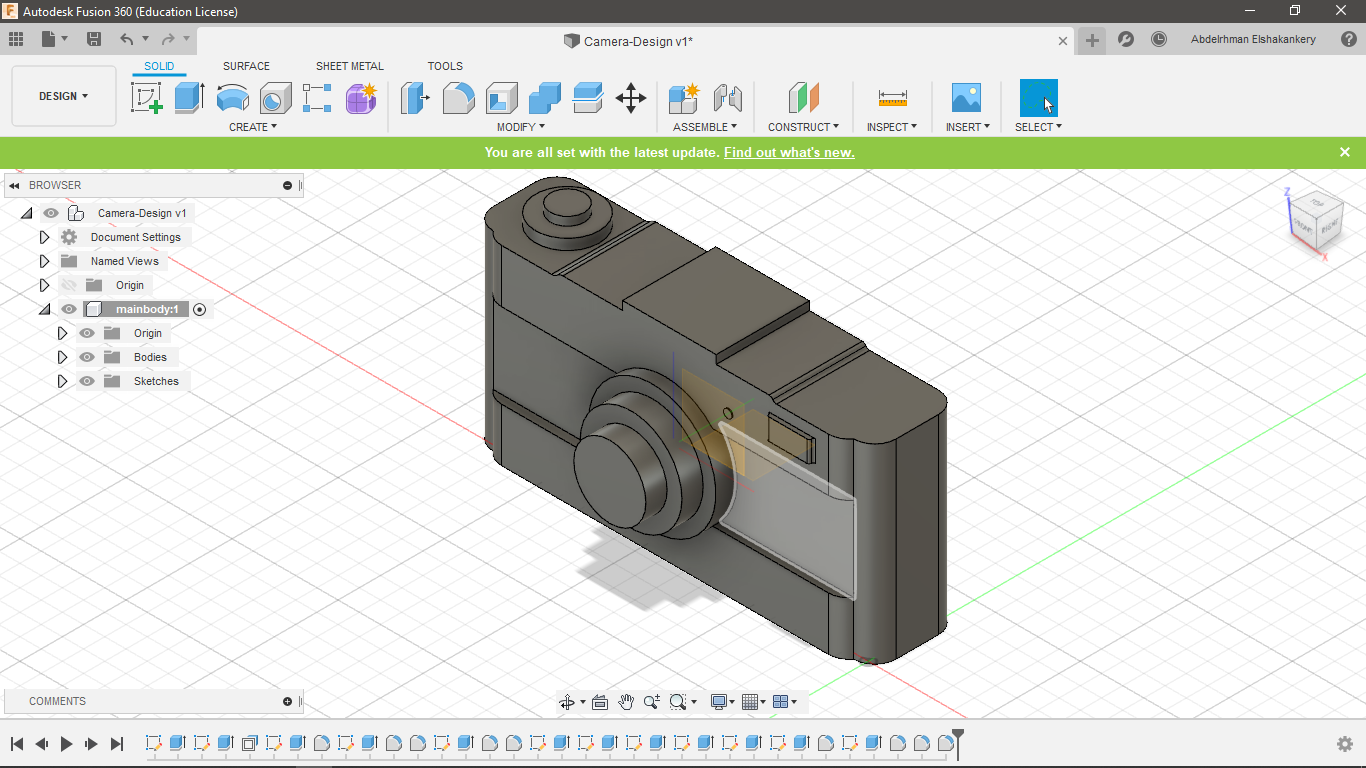
- Now the main body is ready
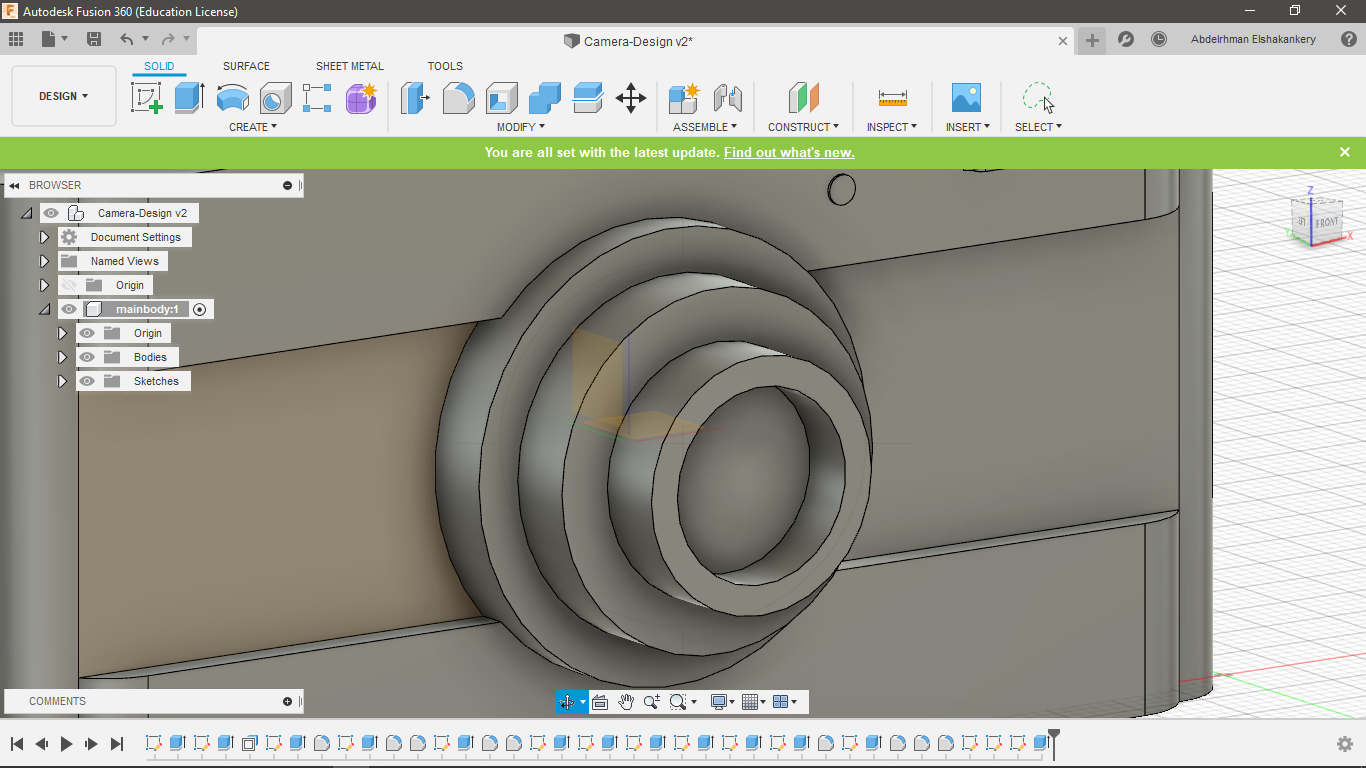
- Edit the length to make a room for the cap
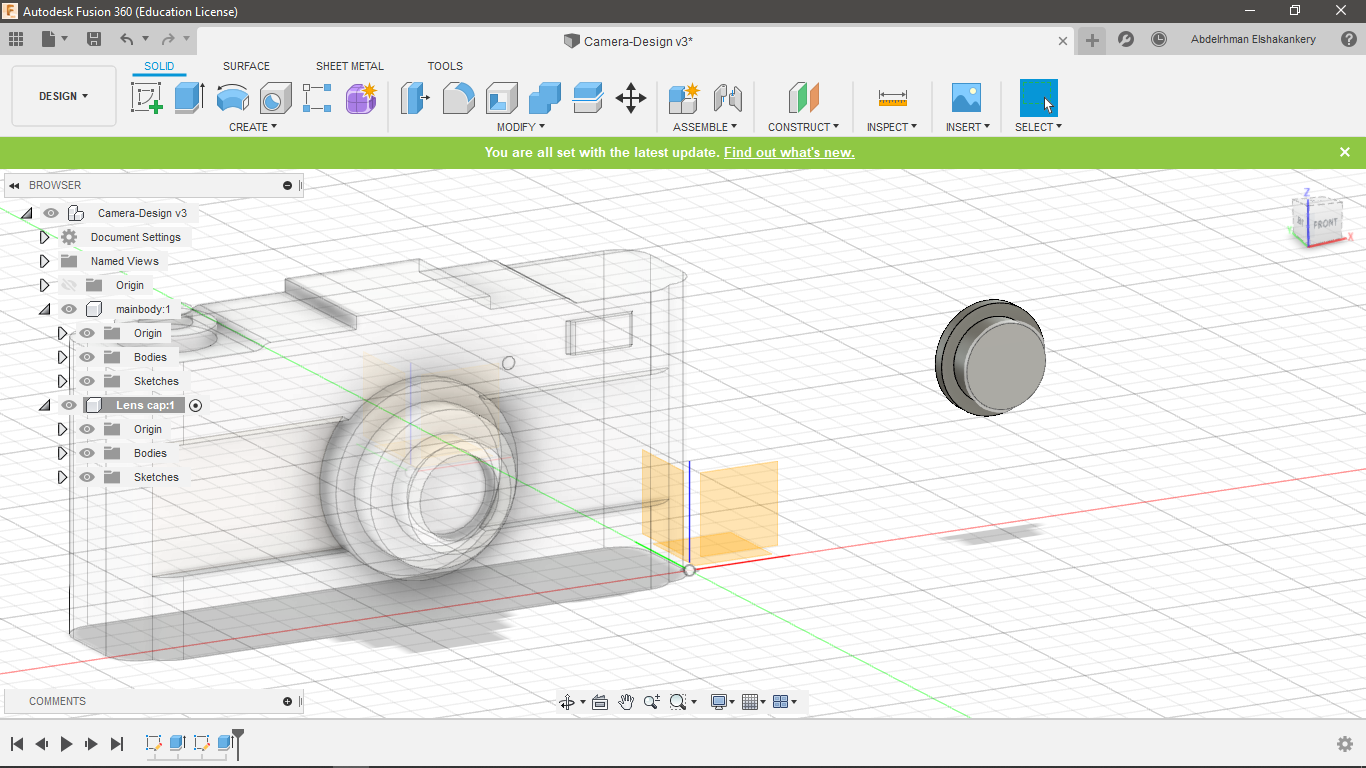
- Create the cap as a new component
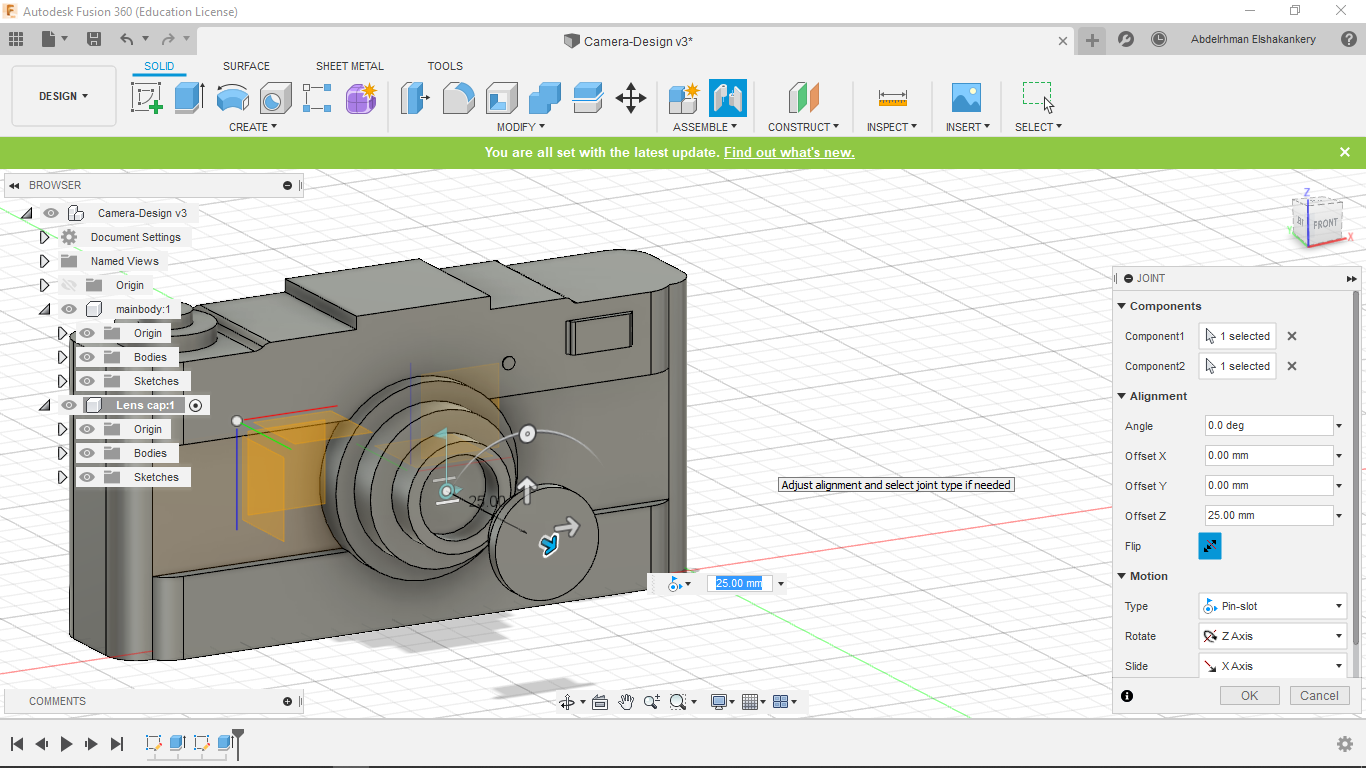
- AND FINALY ASSEMPLY
Then the final steps the animation ::
If you will follow my steps
Do
- Decide your objective, put a plan, Focus
- Learn about Design concept at the begginning
- Create a Moodboard
- Draw a draft with your hand as refrence to through the design
Don't
- Leave the dimension to the design phase make sure you think about when you start your draft
- Try to be perfect in everything, but knowing that little details do matter
- Rush yourself
