Electronics 101
Overview
For this week assignment, we need to make a circuit that control a motor using LDR.
Let's start as usual with My Objective For this project:
- Create different circuit that meet the same objective
- Try using Gif in documentation
My Plan:
Step (1): Create the design
Step (2): Use Proteus for simulation
Step (3): Use Eagle for Sch and Pcb
The Process
Intro to Electronics
They store your money. They monitor your heartbeat. They carry the sound of your voice into other people's homes. They bring airplanes into land and guide cars safely to their destination—they even fire off the airbags if we get into trouble. It's amazing to think just how many things "they" actually do. "They" are electrons: tiny particles within atoms that march around defined paths known as circuits carrying electrical energy. One of the greatest things people learned to do in the 20th century was to use electrons to control machines and process information. The electronics revolution, as this is known, accelerated the computer revolution and both these things have transformed many areas of our lives. But how exactly do nanoscopically small particles, far too small to see, achieve things that are so big and dramatic.
Plz visit this simple easy artical that explain more.
Using Protues !!
The Proteus Design Suite is a proprietary software tool suite used primarily for electronic design automation. The software is used mainly by electronic design engineers and technicians to create schematics and electronic prints for manufacturing printed circuit boards
It includes alot of features including netlist based PCB design with auto-placement, auto-routing and graph based simulation
Find more about Protues and why you should use it here
Getting started with protues :
Circuit simulation
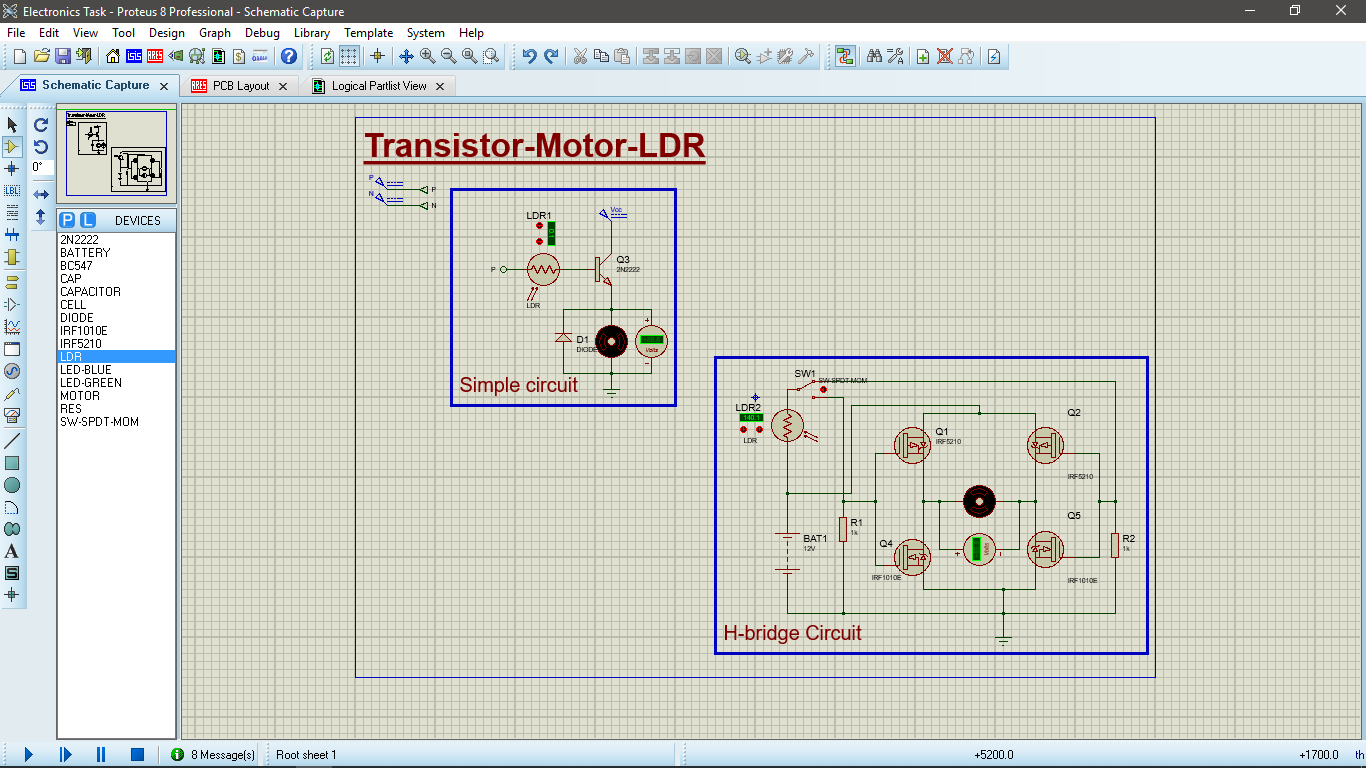
- In this simple circuit the LDR control the flow of electrons through the transistor base in which it work as a switch that turn the motor on and off
- This a more advanced circuit using four Transistor "H-bridge" in which we control the speed of the motor using the LDR and the direction using the switch.
- Here you can find more info about how H-bridge circuit work and how to control it
Sch & PCB Design
We can use alot of cad software ,but we choose Eagle as it easily applicable graphical electronic design automation application with schematic capture, printed circuit board layout, auto-router and computer-aided manufacturing features.
Find more about Egale with this Getting Started toturials here
The Process
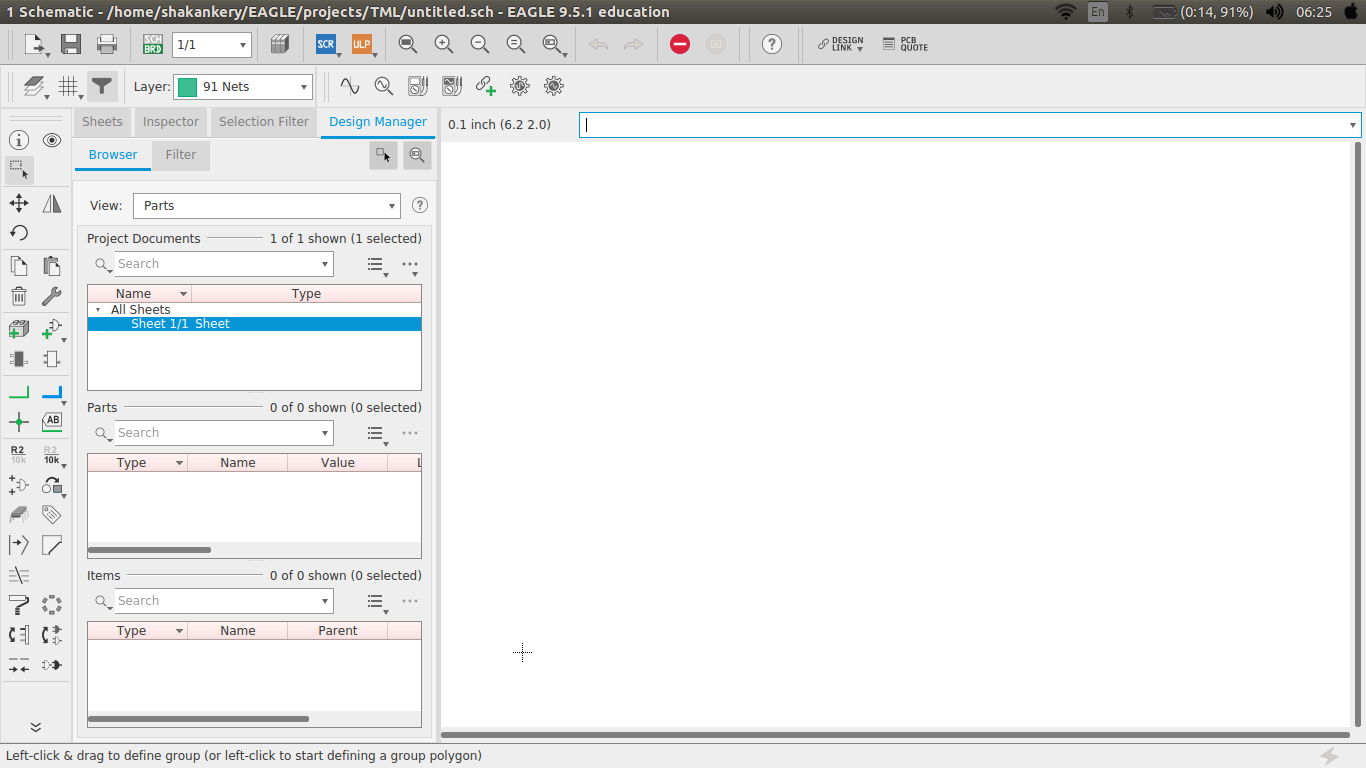
- open Eagle-cad.
- Choose new Schematic.
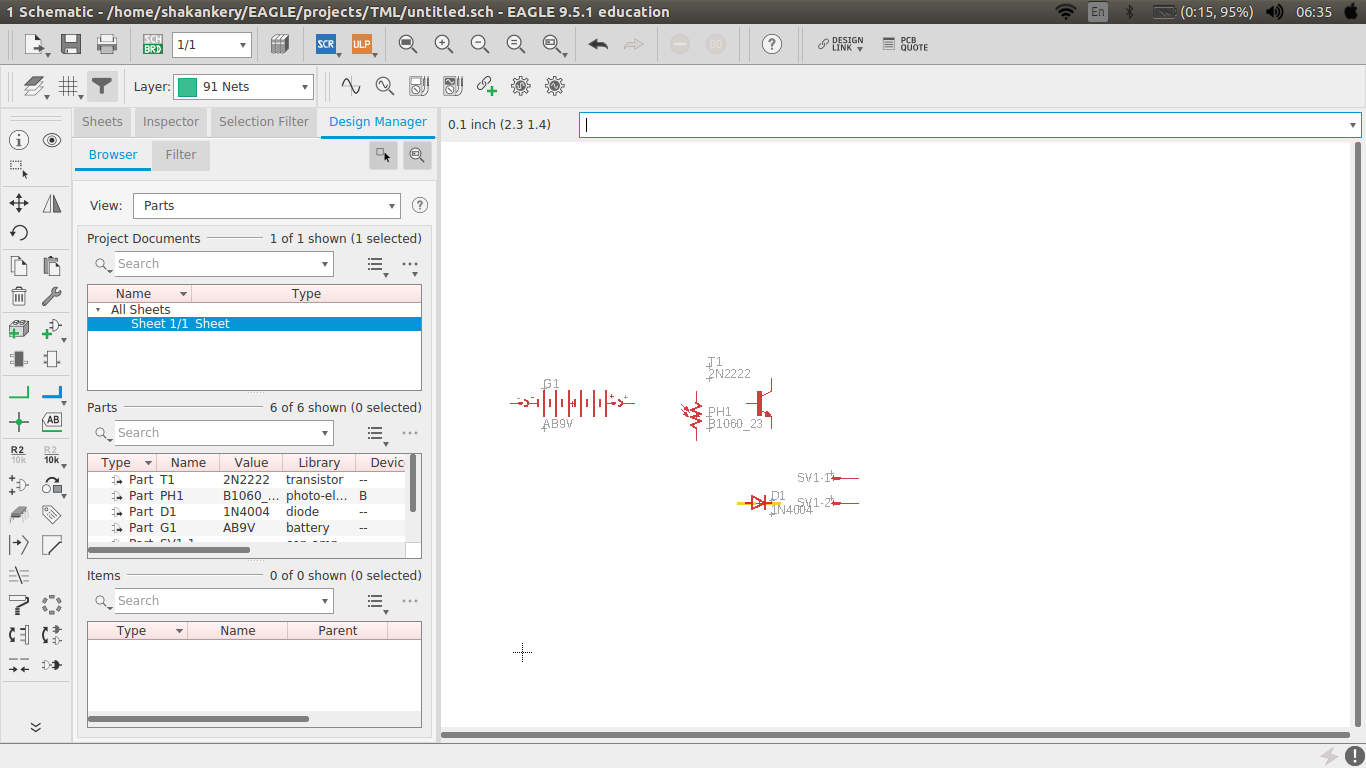
- Add the circuit component.
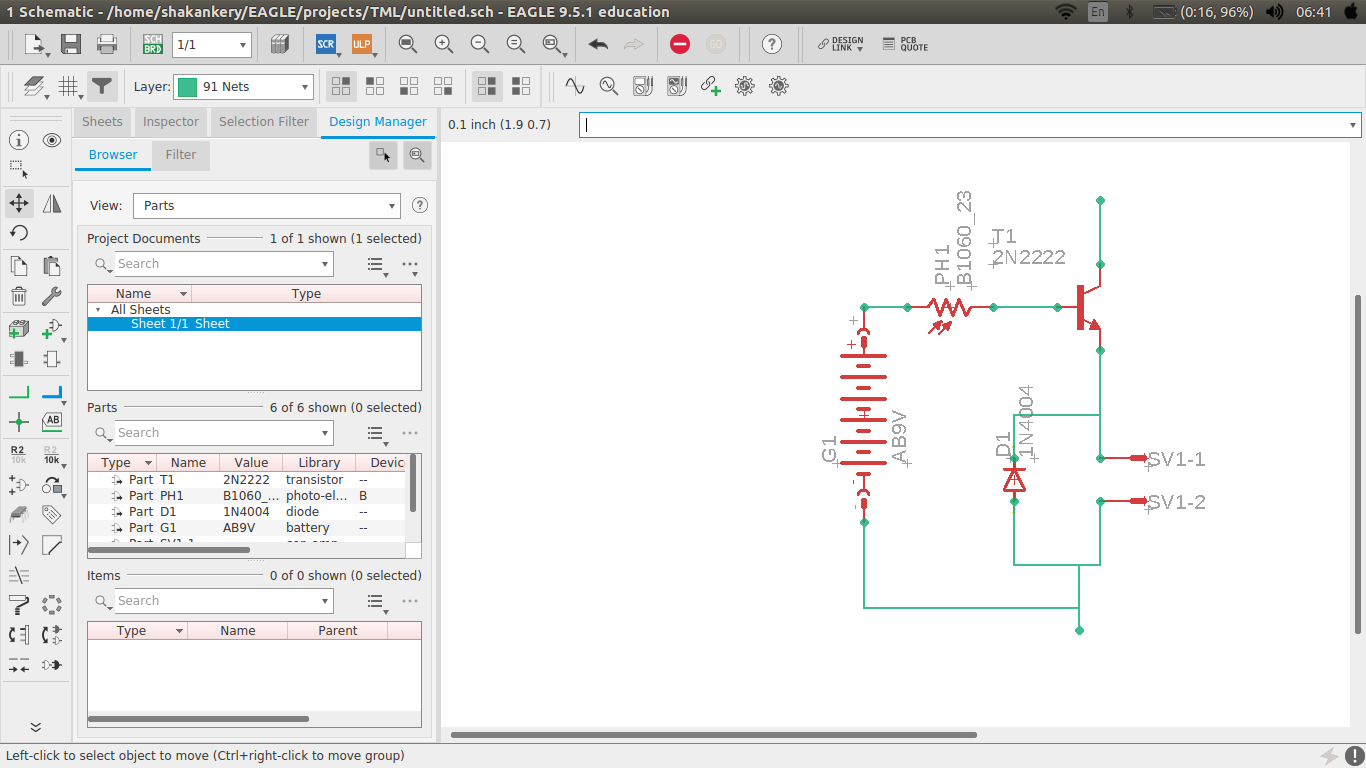
- Time to wire the circuit.
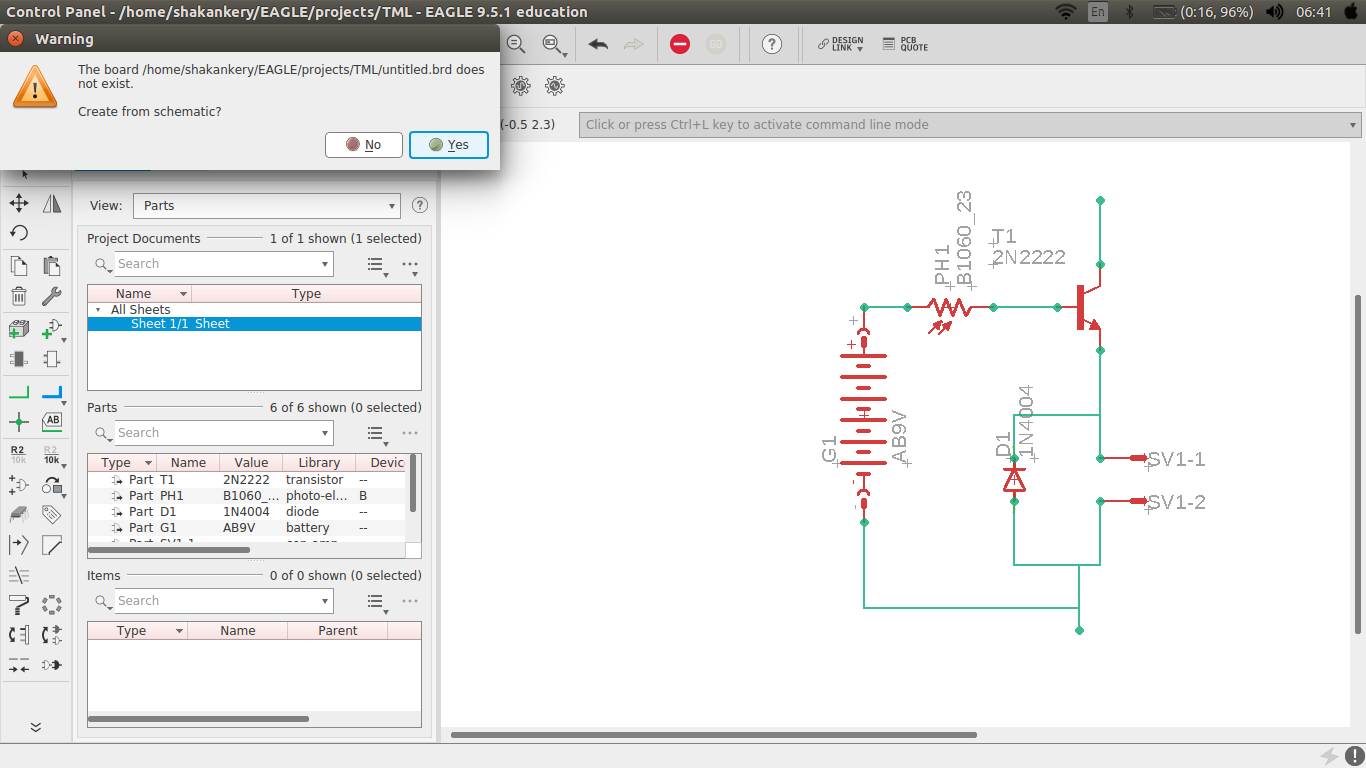
- Let's generate the PCB layout.
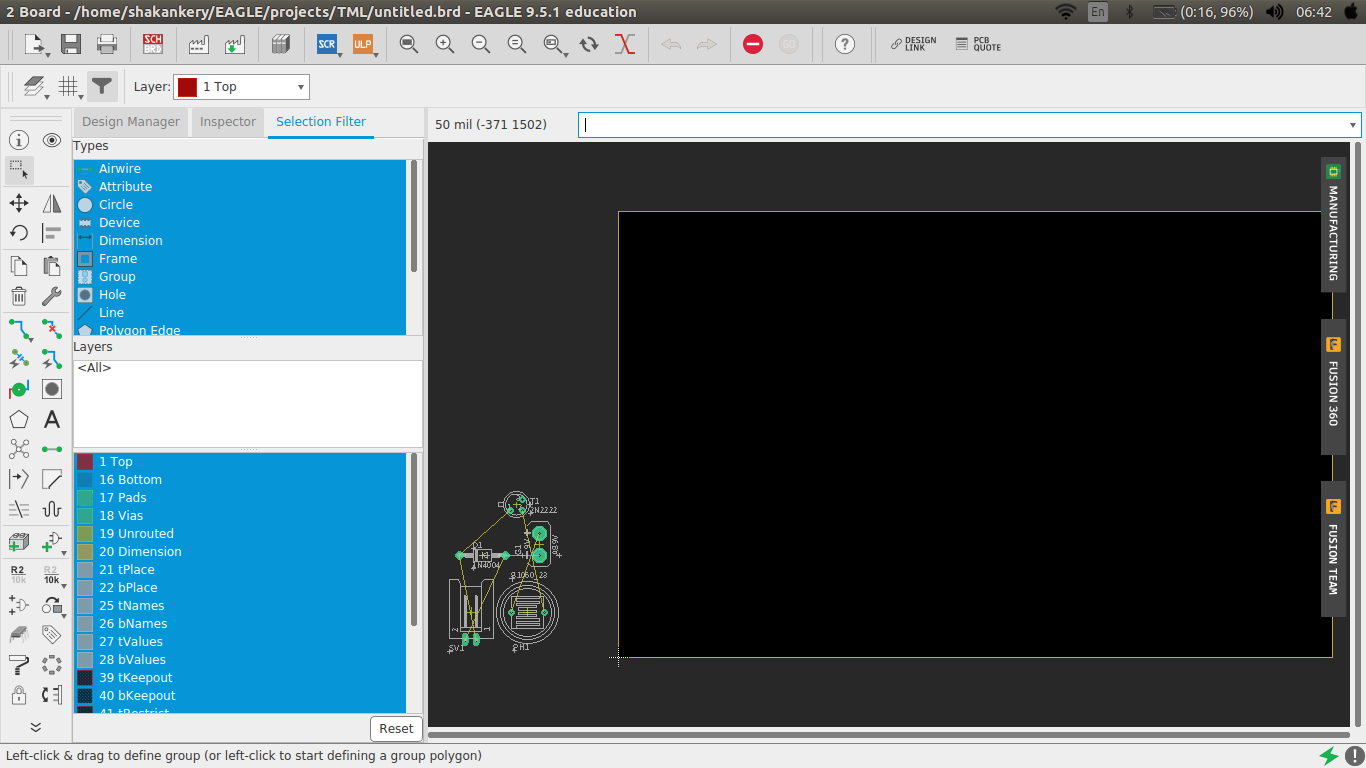
- It's not smart enough to put everything inside
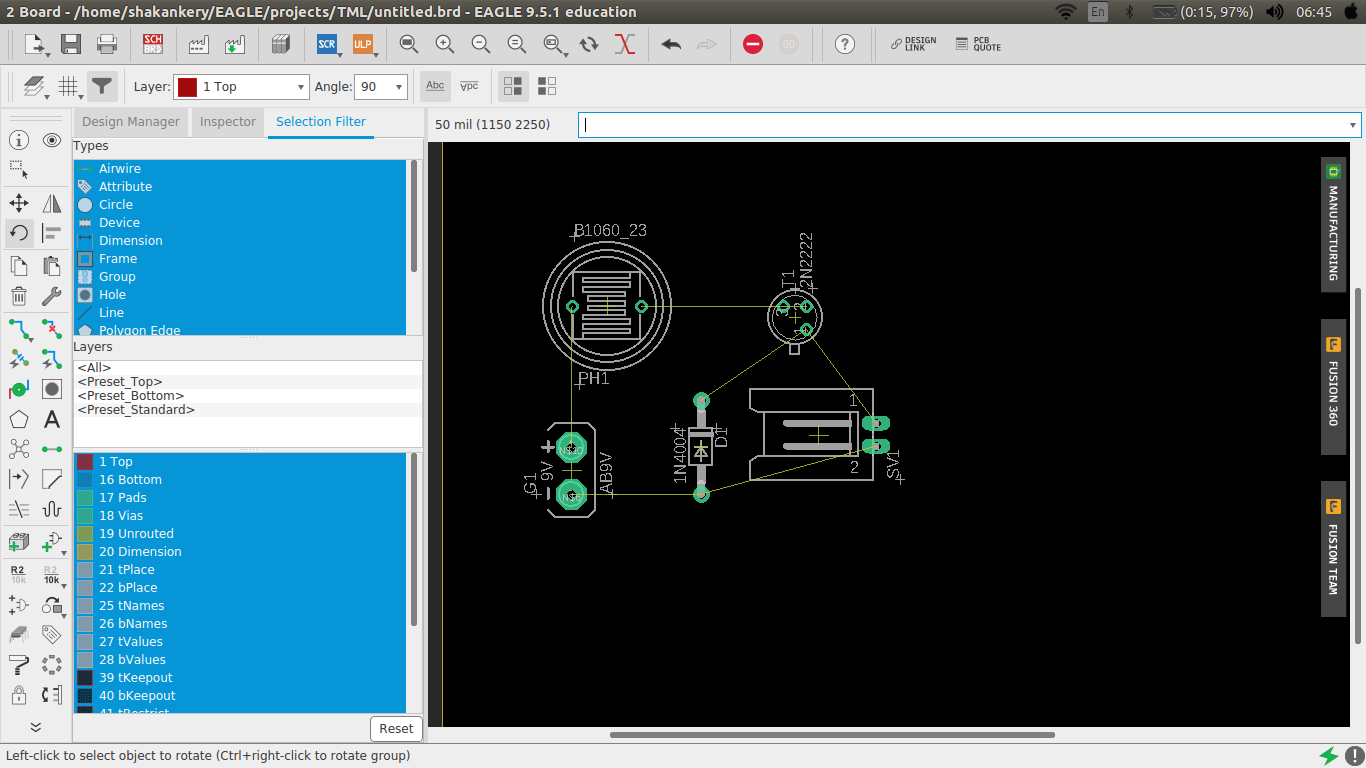
- Arrange everything !
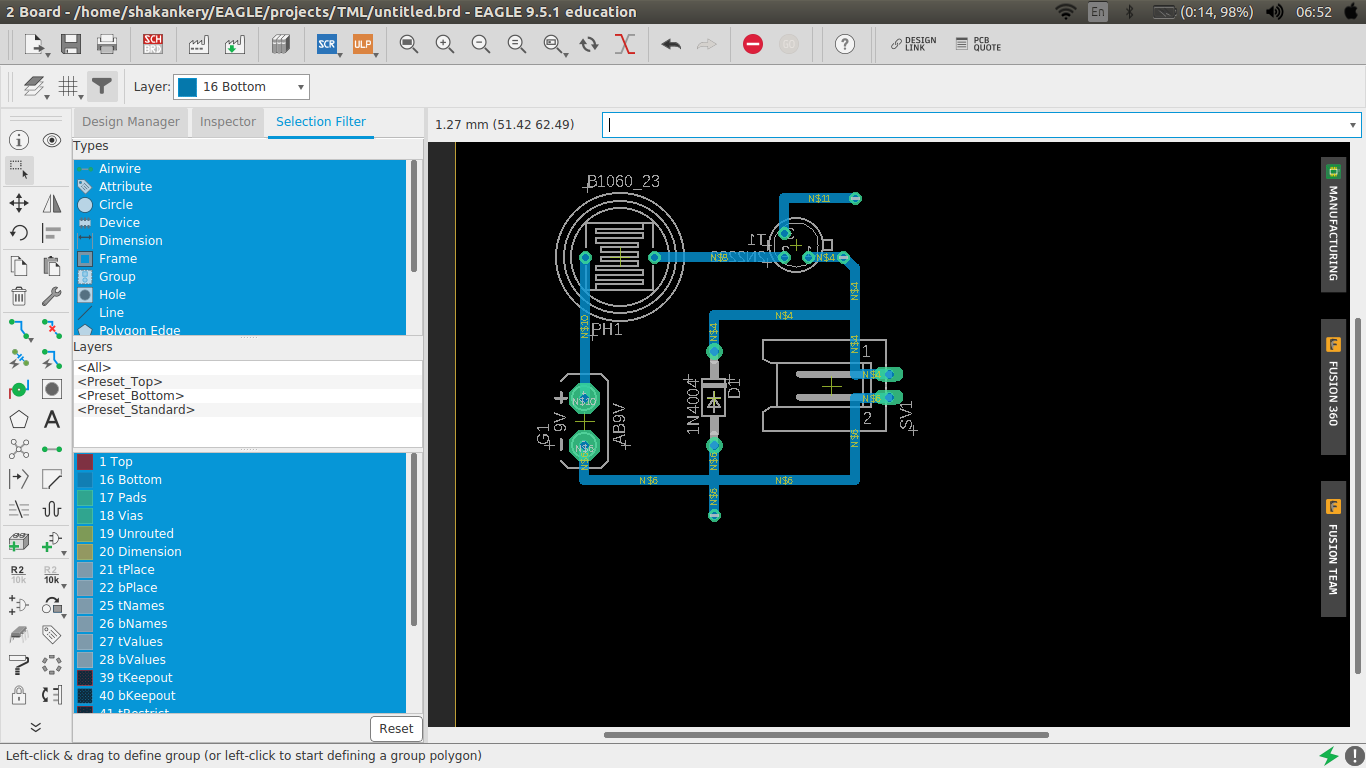
- Now it's routing time
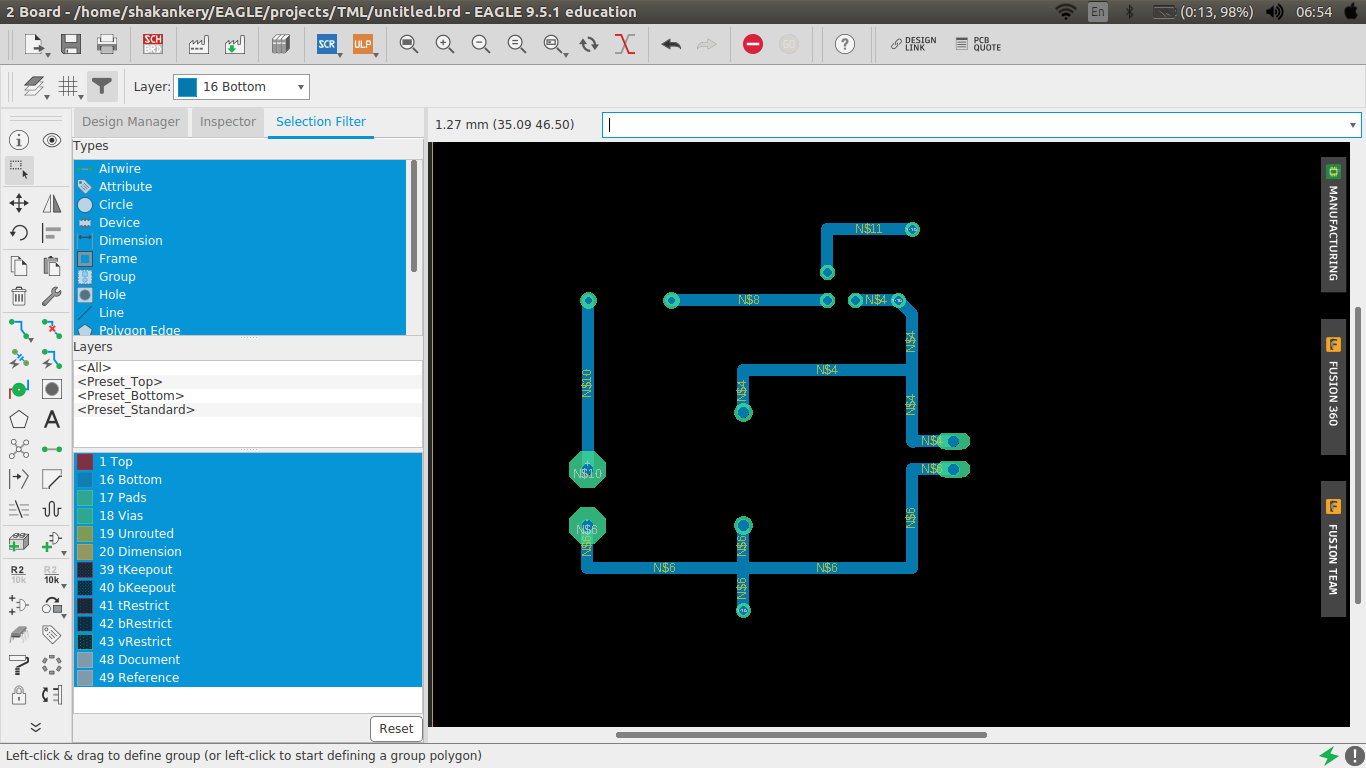
- DooooOOooone !!
The Real Deal ^^
